Getting Started for Just One Dollar
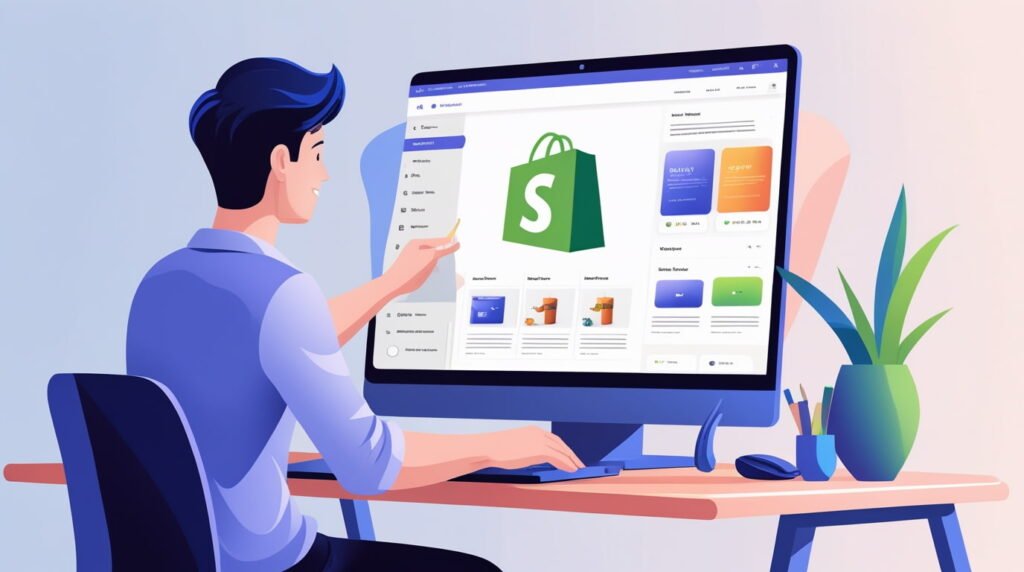
I built a Shopify store with a click of a button. On my screen right now is exactly how much I made from my single Product based Shopify store. I was inspired to build mine after I learned that O bed earned over $250 million just selling footwears on Shopify. Shark on the other hand actually earned over $500 million from their Shopify store selling gym-wears. And this is something anybody can do. I’ll be showing you how to get started with just $1.
What You Will Achieve
Building a Shopify store is one of the easiest ways to make money online, but it can be very technical and if you decide to hire a professional, it will be very expensive. But I did it with literally the click of a button using AI. This AI did not only build a store for me, it wrote the description, generated the images, and everything in between. I will show you exactly how I did it so that you can do the exact same thing and get the exact same result.
If you follow my steps and practice along the way, at the end you would have a full professional Shopify website built with AI and ready to start making you money in 2025.
Step 1: Visit BuildYourStore.ai
To get started, visit BuildYourStore.ai directly by typing it into your browser. Once on the website, click on where it says build my free store. Create a new account by entering your full name, email address, and password, then hit sign up.
Choose Your Niche and Banners
I’m going to put in my full name, my email address, and my password. I’m going to hit sign up. That’s the first thing you need to do. Once this happens, the next thing is for you to pick a niche. The niche where you want to create your store on. You have fashion and apparel. You have pets. We have electronics and gadgets. And we have home and gardens. We have sports and fitness. If you’re not sure of your niche, you can just click on I’m not sure.
For the purpose of this tutorial, we’re going to be saying pets. I want to create a Shopify store for pets, pet lovers. I’m going to click on done, and it’s going to bring us to the next interface, which is where we actually choose our banner.
Banner Selection and Setup
There’s a whole lot of banners for us to choose from. You decide the one that you want to actually use. I’m going to hit done. It’s going to take us to the next step which is where we actually create our Shopify account. I’m going to click on access Shopify. If you look at this page, you see that you can actually start for free, then enjoy $1 per month for 3 months because you use the first link that is pinned in the comment section.
Setting Up Shopify
Step 2: Create Your Shopify Account
If you go to Shopify directly, you’re going to be paying $19 per month for this plan. You’re going to be paying $54 per month for this plan or you’re going to be paying $299 per month for this plan or even $2,300 per month for this particular plan. But because you are using the first link, it’s going to bring you to this interface where you can actually start for free. Then enjoy $1 per month for three months.
No commitment. You can cancel anytime. I’m going to put our email address and click on start free trial. And what we need to do is to put our email address and our password.
Verification and Security
Then select this capture verification I’m human. Then hit login. And this logs us into Shopify automatically. It brings us to where it says review your security settings. This is where you actually set up two-step verifications and all of those things. I’m going to hit confirm. Where would you like to sell on an online store, in-person event, all of these? I’m going to say skip customize setup.
At this point I’m going to come back here to build your store.ai and click on done. What we need to do right now is to link your Shopify store with build your store.ai.
Link Build Your Store with Shopify
What I’m going to do right now is to click on where it says access Shopify and it’s going to bring me back to Shopify. At this point, what I need to do is to come here and copy the URL. Come back to build your store.ai and drop the URL inside this space. I’m going to hit save.
Once it’s done saving, I’m going to click on done. At this point, we need to grab our Shopify discount, where you actually get Shopify for $1 every month for 3 months, paying $3 for 3 months.
Adding Your Payment Method
I’m going to click on where it says access Shopify and it’s going to take us to Shopify website again. This is the point where I input my card details in this page. I have put my card information, but you can also pay with PayPal by clicking on this place and selecting PayPal.
You can actually integrate your PayPal as well. You see that the amount due is just $1 and this is the amount you’ll be paying for the next 3 months. It says subscription successful.
Automation and Customization
Step 3: Install the Store App
Once you are done with this, what we need to do is to go back to the build your store.ai website and click on done, and it’s going to take us to the next step which is actually installing your store app. We’re going to be installing build your store app. What we need to do is to click on install app.
We need to just click on install right here. Once we are done, it’s going to bring us to this interface where it says customize my store. We’re going to click on customize my store.
Register with AutoDS
The next step is for us to register with AutoDS. We’re going to come here, come all the way to the bottom and click on register to AutoDS. What we need to do right now is to put in our email address. Put in your name, your full name, and choose a password. I’m going to click on join.
AutoDS would automate our drop shipping business. Once we get to this interface, what we need to do is to select our selling channel.
Choose Your Selling Channel
For this it’s going to be Shopify, not eBay, not Amazon. We’re going to be clicking on Shopify. I would recommend that you start with this most popular plan, which is the starter 500 plan. But for now, you’re going to be paying just $0.99, less than $1 to actually get started.
And this is a full scale drop shipping automation solution that is perfect for beginners creating a store. And with this, you’ll be able to import 500 products, and of course, price, stock monitor, all of these things. You’re going to be getting access to all of this for just less than a dollar.
Making Your Store Live
Once you’re done subscribing to AutoDS, what you need to do is come back here and click on done. Your Shopify store is actually live right now and we created it with just a few clicks. But if you come here and click on where it says access my store, this store is not open to the public.
You need to use a password. Let’s disable this so that everybody can actually access our store right now. I’m going to click on where it says store password.
Exploring Your AI Store
Disable Password Protection
I’m going to just uncheck this and click on save. When you come back to build your store and click on where it says access my store, you will see that our store is now accessible to everybody on the internet. This is exactly what our Shopify store looks like. You see the dog pictures we selected at the very beginning. You can click on shop to go to our shop. Grooming care shop now. All of this created with just a few clicks.
Review the Catalog
One of the amazing things that build your store.ai just did for us is they even created an amazing logo for us right here. I’m going to click on catalog right now and it’s going to show us pets products that are in our catalog.
This season’s bestseller. 4-in-one electric pet grooming kit, hair trimmer, clippers, nail grinder for cats and dogs and all of that. Amazing product for your pets. And we created the Shopify store with just a few clicks.
Product Features and Functionality
Different colors, white and another color, maybe green. This is what the green looks like. This is what the white looks like. You can buy two and you save some money when you’re buying two and all of that. You see there’s a cart created for us.
If you have a discount code, you can put it right here to bring it down. The number of pieces you want to buy, you can bring it down. This is very functional. And we did this with the click of a button.
Checkout and Domain Name
If you want to hire a developer to actually build this for you, maybe on Fiverr or Upwork, they’re going to charge you a couple thousand to do this, but we did this with the click of a button. You can click on check out and it’s going to take you to payment. People are going to make payment from here, and of course, this gets delivered to them. That’s how easy it is to actually do.
Finalizing the Domain
Step 4: Get Your Free Domain
If you look at our website, you see that our domain name is a random domain name. V8B0.shopify.com. What this helps you do is to actually get your own domain name. Whatever you want to call it — maybe mypetshop.com or mydogshop.com — whatever you want to call your Shopify store, this is actually where you get it from.
What you’re going to do right here is to enter your desired domain name. I’m going to call this mypetshop.store. And the interesting thing is that this domain is actually free for you for one year.
Secure Your Desired Name
This is amazing. You’re getting this completely free store domain. I’m going to come here and hit save. This is already taken. It’s giving us alternatives. My pet charm store, my pet shop near NYC, my pet goodies, my pets — whatever.
You can decide what you want to go with. I’m going to say my pet gift. My pet gift.store. I’m going to hit save. This is free — mypetgifts.to. I’m going to hit continue. To create your store account, you need to actually put in your full name, your email address, and your password.
Create Account and Connect
I’ve provided all of this. I’m going to say create account. The next thing we need to do is to connect our domain to our Shopify store. What you need to do is to just come down here. You see that this domain is auto connected.
The propagation time is 24 hours and happens within that time duration. Sometimes when you buy a domain it takes about 24 hours to propagate and be connected. You can say I’ll do it later or connect now.
Finalizing Domain Connection
When you log into your Shopify, search for domains and hit enter. Just click on this place and it’s going to bring you right here. What you need to do is to just click on where it says connect existing domain. Copy mypetgifts.store. I’m going to come back here and drop our domain here and hit next. It says domain added to your store.
Growing Your Business
Dropshipping Course and Training
What we need to do is to come back to build your store.ai and click on done. Once you click on this, automatically it’s going to redirect us to this Shopify course 2025 where everything is explained that we need to do to actually grow on Shopify.
I took this course personally when I was actually building my own Shopify store. Once you click on take your course, it’s going to bring you to a YouTube video that is 16 hours long. It actually deals with everything you need to know about building a successful business.